If you are using Azure AD authentication for your scripts, apps, or other scenarios at some point you will end up creating your own application in your directory. Normally you open the Azure portal and navigate to the “App registrations” part of AAD. This is fine during development, but if you want to share the solution or a customer wants to run the software in their own tenant, things get complicated and error prone. For my Microsoft Teams backup solution this is very real because you need to hit all required permissions and configure the public client part otherwise the solution will not run.
This post provides you will all the needed information to create your own script. I’m using my M365 Teams Backup solution as a reference. The key components are:
- Install the Azure CLI or the Azure AD Preview PowerShell module
- The scripts to setup the app
- create-aadapp-cli.ps1 via Azure CLI
- or create-aadapp.ps1 via PowerShell
Choose a scripting environment (Azure CLI vs Azure AD PS)
During my day job I created some applications based on Microsoft Graph and I tried a few approaches to script the Azure AD app creation. It is important to understand that an Azure AD application consists of two parts. The application registration is like a blueprint for your app. The enterprise application is the implementation of your blueprint.
The application permissions are defined in the “App registration”. Here you select the permissions that your app will request from users in the tenant. Without a consent the permissions are not in effect. If your only have an app registered but not received consent the app will not be able to use the requested permissions. Check the Microsoft documentation for a deeper look at the consent framework.
Most of my applications leverage application permissions or require admin consent for delegate permissions. The �M365.TeamsBackup� solution is using a bunch of Microsoft Graph permissions and some of them are pretty powerful. If you have an application with this kind of permission requirements it is needed to have admin consent given by a (best case) global administrator.
If your apps are like mine, it might be the best to use the Azure CLI because this is as of my knowledge the only way to script the admin consent. I am not a CLI guy. I am a PowerShell fan. I struggled in the past integrating the CLI and its output into my scripting flow. That is why I wanted to show you what and how it can be done. If you are OK with opening the portal to give admin consent or you don’t want to give admin consent during application setup, I also have an Azure AD PowerShell version of the script.
Setup Azure CLI and connect
The Azure CLI is not purely targeted at Azure AD. It is the other way around because the CLI is used to script all the Azure things available. There is great Microsoft docs on installing the Azure CLI. I’m running on Windows, so I typically go the MSI route:
- Download the release version of the MSI (that is what I’m running)
- Install the MSI (bring some extra time because the installation is slow)
- After the download open a new PowerShell (this ensured the path is set and available)
- You can check if the installation worked using the ‘az –version’ command
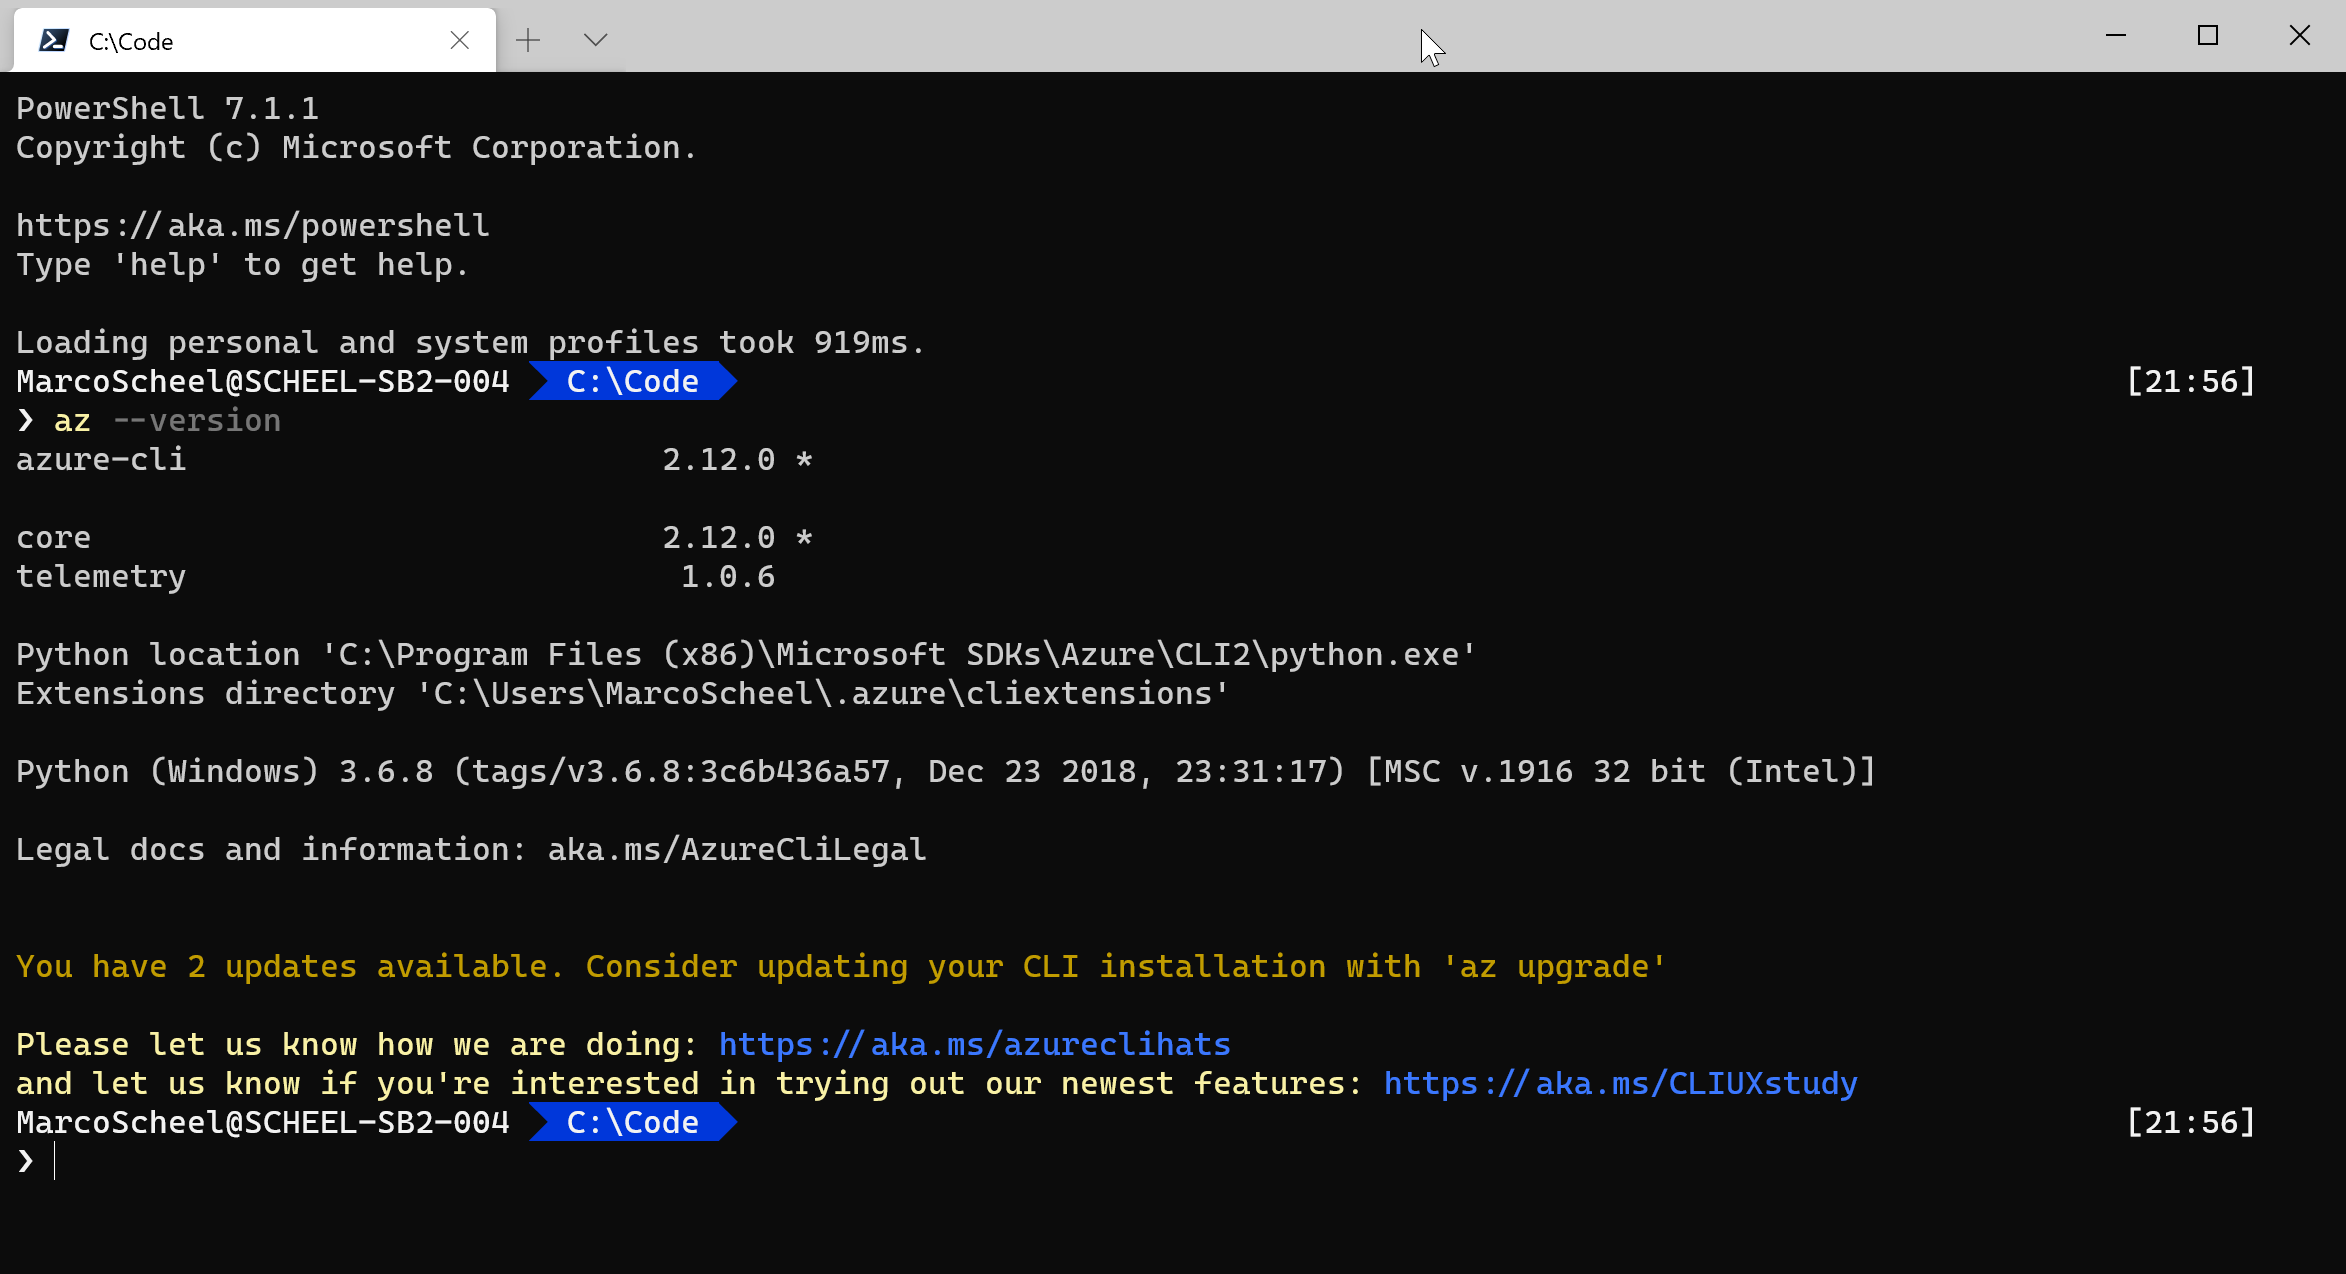
As you can see my version is not up to date. As with most tools you need to keep these tools at the latest version. The Azure CLI can be updated by installing the newest MSI or by running an admin command using this command ‘az upgrade’. The upgrade command will download the MSI and start the installation for you.
Installation is finish and now it is time to login to your tenant. The CLI is different from your normal “PowerShell Connect-SERVICE” (SharePoint, AD, Teams, …) command. The Azure CLI will remember your last login. If you close and open your terminal you will still be logged in. If you use the Azure CLI just for the one-time setup, please consider a logout after you finish any script. But first lets login. I’m a big fan of device code authentication where possible. Azure CLI is supporting this flow so that is how I roll:
- Login:
- az login –use-device-code –allow-no-subscriptions
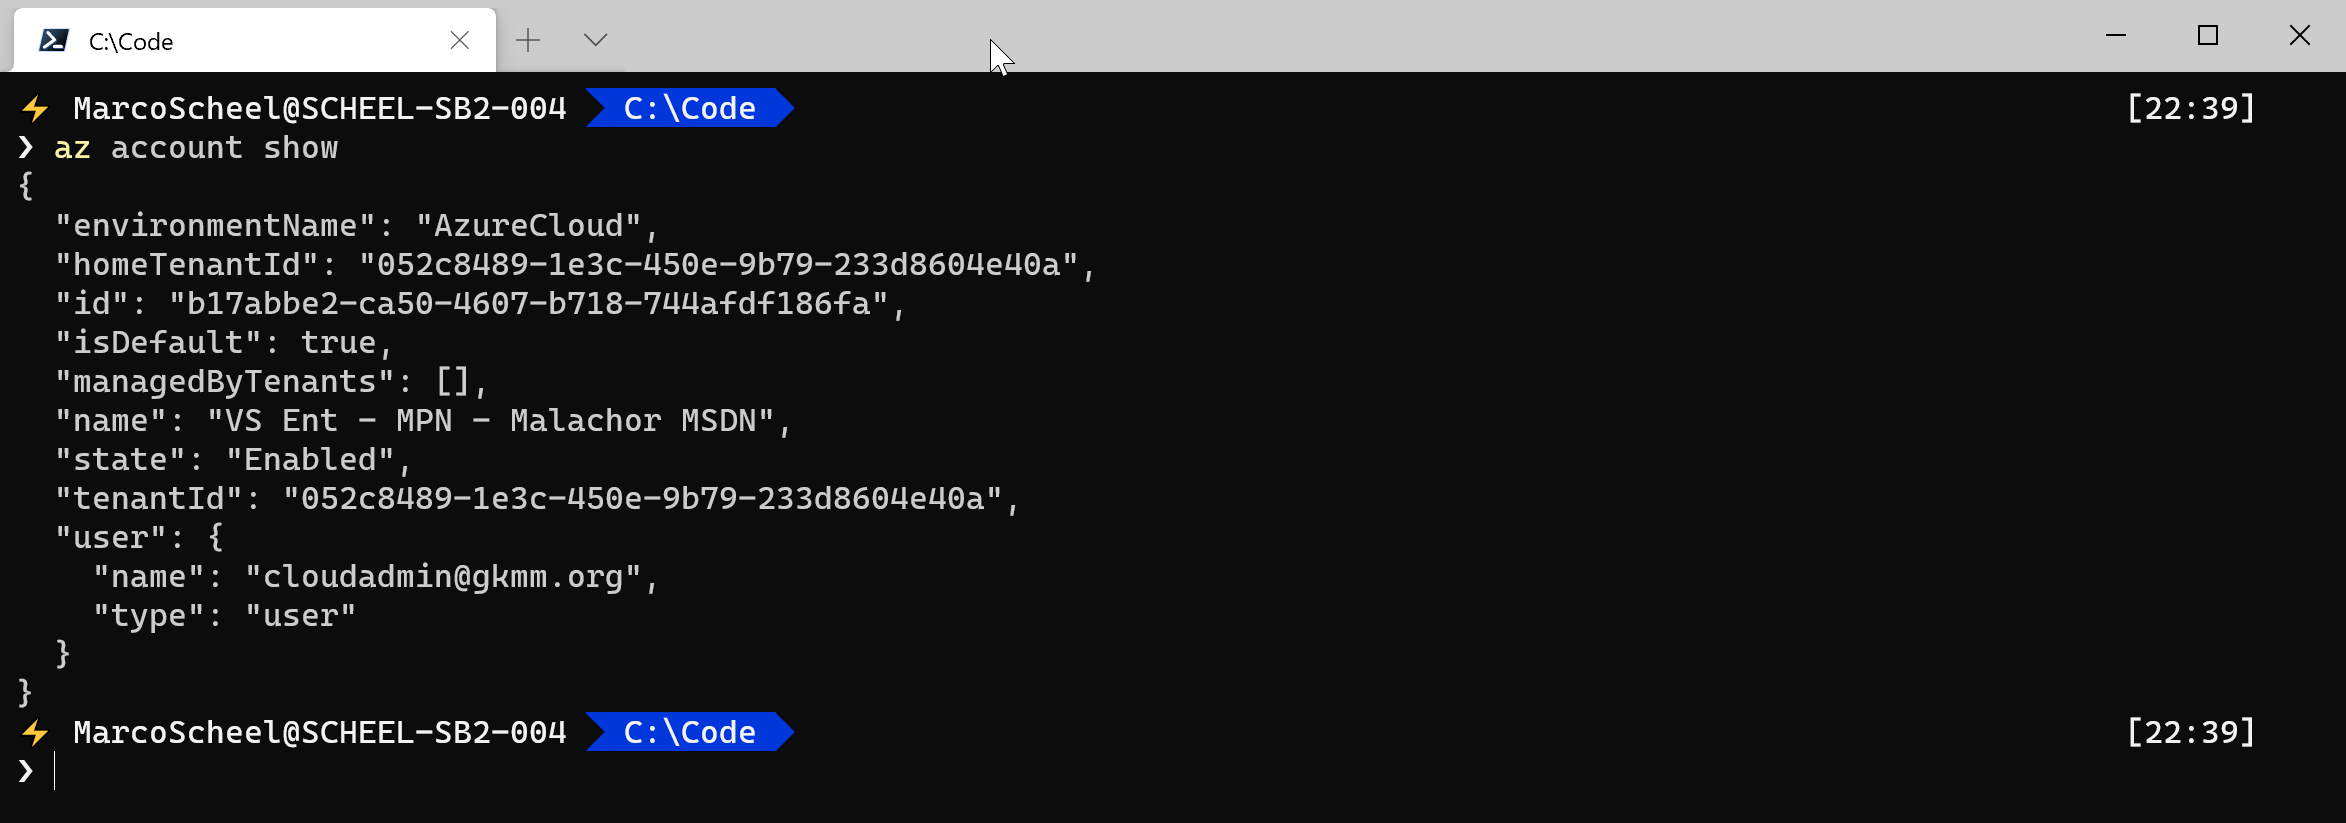
- Check current login:
- az account show
- Logout:
- az logout
Check my script using the Azure CLI:
Setup Azure AD PowerShell and connect
Azure AD PowerShell versioning is complicated. For my job (M365 Modern Collaboration) I am always using the AzureADPreview module and this is what I recommend in most cases. The AzureADPreview cannot be installed side by side with the AzureADPreview, so at some point you will have to move to the AzureADPreview. As the Azure CLI is not PowerShell based I am using my Windows Terminal default that is PowerShell 7. The Azure AD modules are not yet ready for PowerShell 7 so you will need to open your old school PowerShell 5.
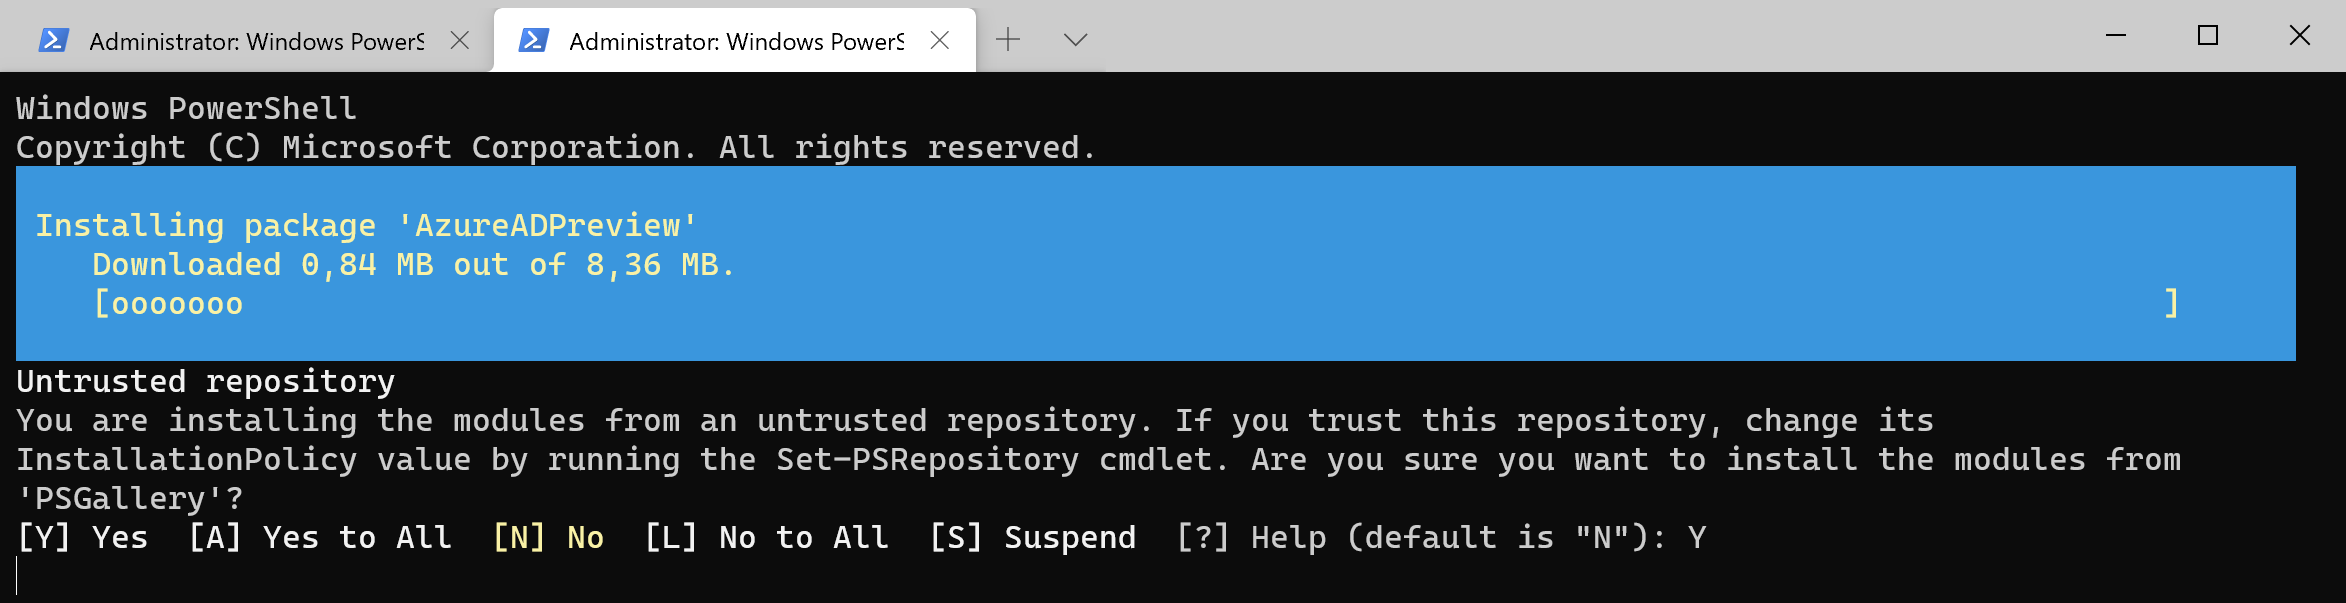
Installing the Azure AD module is like most modern modules and relies on the Powershell gallery.
- Open your PowerShell as an administrator and execute
- Install-module AzureADPreview
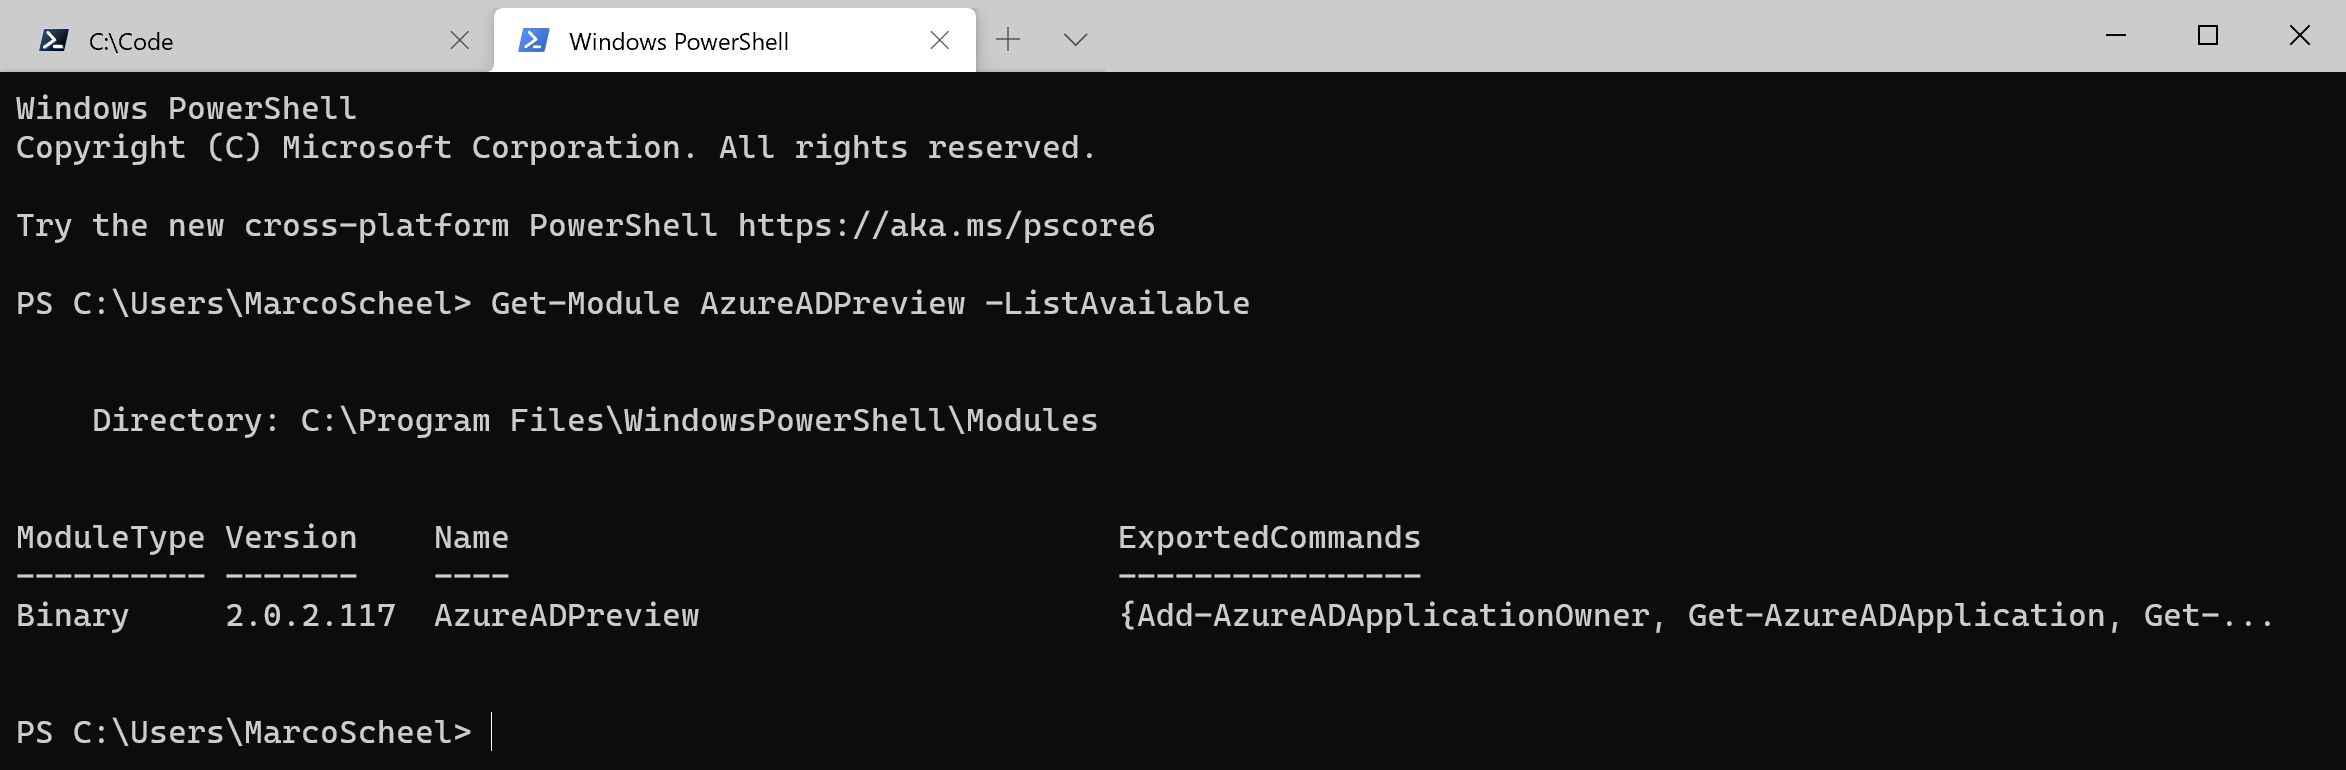
- Check your version opening a non admin session
- Get-Module AzureADPreview -ListAvailable
If you are not on the latest version, you need to upgrade the module like any other module:
- Open your PowerShell as an administrator and execute
- Update-Module AzureADPreview
To connect to Azure AD you cannot rely on device authentication and you will need to login directly on the script execution. If you need to execute multiple scripts, check if you want to disable the login command “Connect-AzureAD” in the script to prevent multiple logins (incl. MFA).
- Open your PowerShell and execute
- Connect-AzureAD
Check my script using the Azure CLI:
Script the creation process
Now we are prepared, and we can create our application. The easy part is to create an “App registration”. If your app need permissions the trouble begins. There are two challenges:
- Setting the permission in the two scripts
- Getting the permission definition in the first place
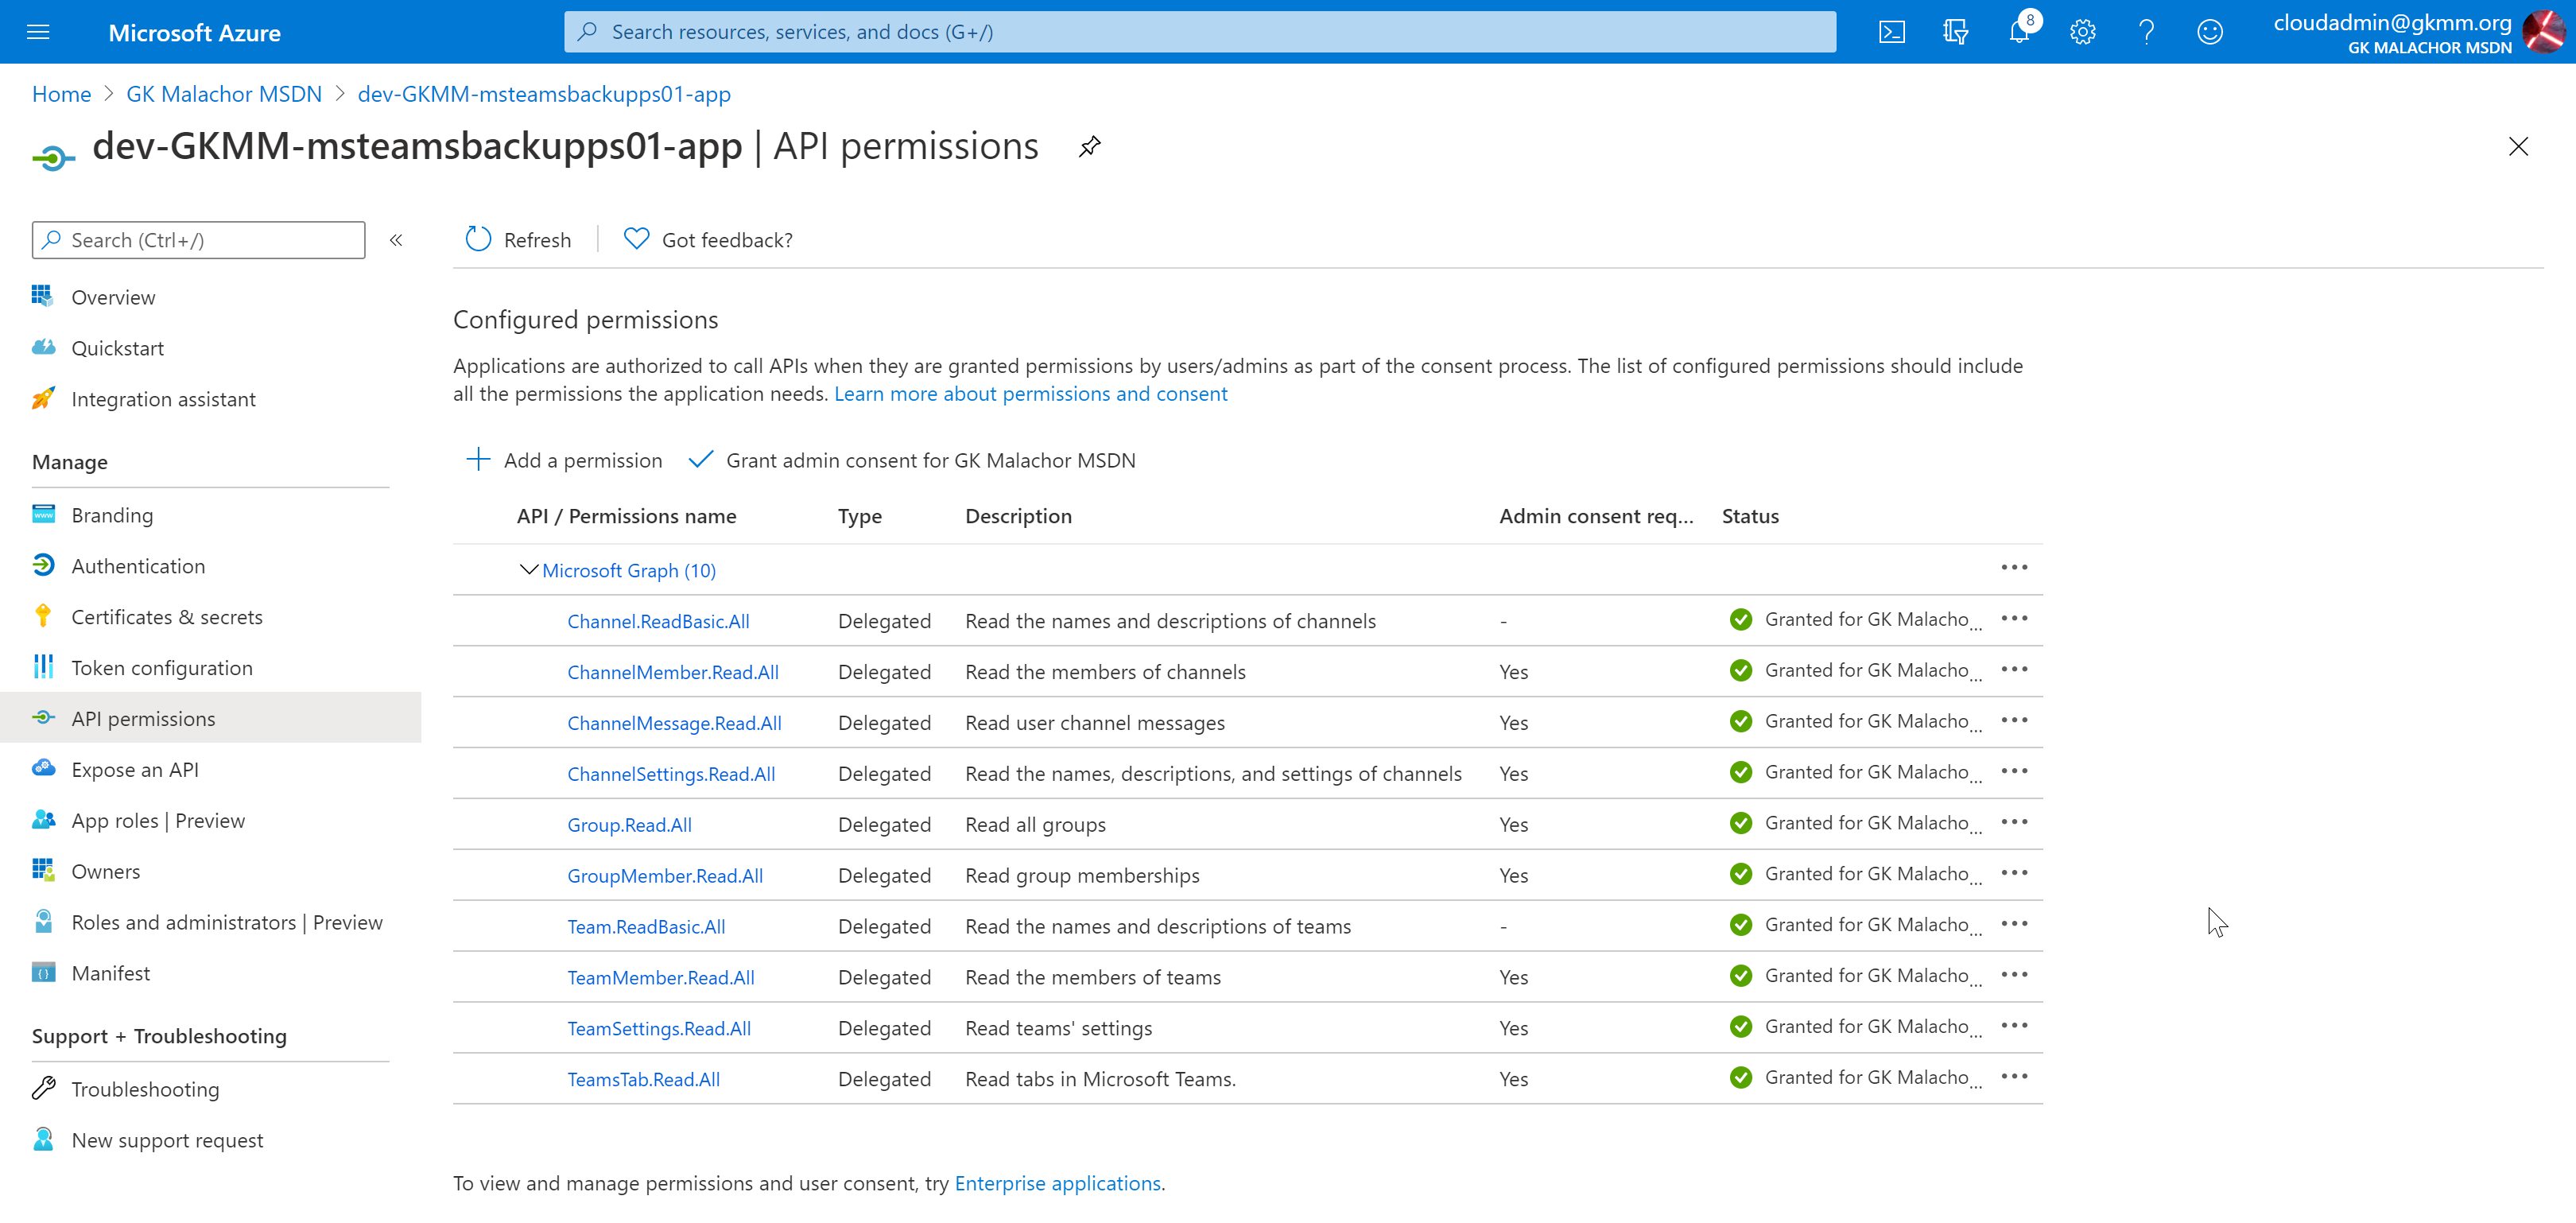
Getting the permission translated from the nice Azure AD portal UX to a script-ready solution is harder to research than expected. I’ve done a blog post (in German) about this in the past. In the next section I will show you how to get the ID of the Microsoft Graph application and the IDs of the required permissions.
My Teams Backup solution requires many permissions from the Microsoft Graph (this time delegation because app permissions for some require Microsoft approval) so let�s have a look at a non-error prone implementation that is also easy to read and extend.
Azure CLI
For reference: create-aadapp-cli.ps1 Microsoft docs: az command overview
Use the Azure CLI to query the Azure Active Directory for the service principal with the name of the Microsoft Graph.
$servicePrincipalName = "Microsoft Graph";
$servicePrincipalId = az ad sp list --filter "displayname eq '$servicePrincipalName'" --query '[0].appId' | ConvertFrom-Json
Using the query parameter we select the first result (there is only one Microsoft Graph) and “cast” the app ID. Using the ConvertFrom-JSON makes it easy to parse the result and we receive “00000003-0000-0000-c000-000000000000” as the value for the app id.
Next, we need to get the ID for each required permission. This info is part of the “oauth2Permissions” property from the MS Graph service principal:
$servicePrincipalNameOauth2Permissions = @("Channel.ReadBasic.All", "ChannelMember.Read.All", "ChannelMessage.Read.All", "ChannelSettings.Read.All", "Group.Read.All", "GroupMember.Read.All", "Team.ReadBasic.All", "TeamMember.Read.All", "TeamSettings.Read.All", "TeamsTab.Read.All");
(az ad sp show --id $servicePrincipalId --query oauth2Permissions | ConvertFrom-Json) | ? { $_.value -in $servicePrincipalNameOauth2Permissions} | % {
    $permission = $_

    $delPermission = @{
        id = $permission.Id
        type = "Scope"
    }
    $reqGraph.resourceAccess += $delPermission
}
Using the “-in” filter we receive all specified entries for the array we need. To use the IDs in the next command the script creates a hashtable that can be converted in the needed JSON file (correct a file). The permissions are added as “Scope” representing “Delegation” permission. The “az ad app create” command will require a file with the permissions.
Set-Content ./required_resource_accesses.json -Value ("[" + ($reqGraph | ConvertTo-Json) + "]")
$newapp = az ad app create --display-name $appName --available-to-other-tenants false --native-app true --required-resource-accesses `@required_resource_accesses.json | ConvertFrom-Json
This creates an app that is only valid in your tenant “–available-to-other-tenants false” and allows the login as a public client “–native-app true”. The result is a JSON representing the new application.
The benefit of using the Azure CLI is the possibility to grant admin consent for the newly created app
az ad app permission admin-consent --id $newapp.appId
PowerShell with Azure AD
For reference: create-aadapp.ps1 Microsoft docs: Azure AD Application command overview
To get the ID for the Microsoft Graph Service principal we query the current directory and filter to the display name.
$servicePrincipalName = "Microsoft Graph";
$servicePrincipal = Get-AzureADServicePrincipal -All $true | ? { $_.DisplayName -eq $servicePrincipalName };
Where the Azure CLI requires a file to setup permission, the PowerShell version requires a .NET object. The Microsoft Graph service principal ID is the ResourceAppID.
$reqGraph = New-Object -TypeName "Microsoft.Open.AzureAD.Model.RequiredResourceAccess";
$reqGraph.ResourceAppId = $servicePrincipal.AppId;
From the returned object we can select the “Oauth2Permissions” property to filter on our array with the required permissions. For each permission another .NET object is created and added to the collection named “ResourceAccess”.
$servicePrincipalNameOauth2Permissions = @("Channel.ReadBasic.All", "ChannelMember.Read.All", "ChannelMessage.Read.All", "ChannelSettings.Read.All", "Group.Read.All", "GroupMember.Read.All", "Team.ReadBasic.All", "TeamMember.Read.All", "TeamSettings.Read.All", "TeamsTab.Read.All");
$servicePrincipal.Oauth2Permissions | ? { $_.Value -in $servicePrincipalNameOauth2Permissions} | % {
    $permission = $_
    $delPermission = New-Object -TypeName "Microsoft.Open.AzureAD.Model.ResourceAccess" -ArgumentList $permission.Id,"Scope" #delegate permission (oauth) are always "Scope"
    $reqGraph.ResourceAccess += $delPermission
}
Now it is time to setup the application (only in this directory and as public client) and retrieve the ID of the new app:
New-AzureADApplication -DisplayName $appName -AvailableToOtherTenants:$false -PublicClient:$true -RequiredResourceAccess $reqGraph;
"ClientId: " + $newapp.AppId;
"TenantId: " + (Get-AzureADTenantDetail).ObjectId;
"Check AAD app: https://portal.azure.com/#blade/Microsoft_AAD_RegisteredApps/ApplicationMenuBlade/CallAnAPI/appId/" + $newapp.AppId + "/objectId/" + $newapp.ObjectId + "/isMSAApp/";
The last line creates a link to the Azure AD to grant admin consent.
Summary
You can check out my linked solution to get the full picture from the client code using the app to the setup required for authentication. I would recommend checking out the Azure CLI because it is the most complete solution even though it does not feel natural to me as a PowerShell guy. The example should give you an idea how to get the needed IDs and how to constructed the required objects/file to create the app. Let me know how you setup Azure AD apps and if there are other options. I’ve ignored the PowerShell AZ module because you are not able to grant admin consent too and chances are higher you may have AzureAD PowerShell installed already.