My blog now has a new home. It is no longer hosted on Tumblr.com and it is now hosted on GitHub Pages. The main reason to get of Tumblr is the poor image handling. The overall experience was OK. I liked the editor and best of all it is all free including running on your own domain! Having my own name was a key driver. I was running my blog on my own v-server back in the days. I tried a lot of platforms (blogger.com, wordpress.com and prior Tumblr I ran on a “self” hosted WordPress instance). The only constant was and will be my RSS hosting. Believe it or not I’m still running Feedburner from Google. One service that is still not (yet?) killed by search giant (RIP Google Reader). With all the previous choices there was also on driving factor: I’m cheap, can I get it for free? Yes and it will stay 100% free for you and me!
Today is the day I switched to a static website! It is 2020 and the hipster way to go. So, what does it take to run a blog on a static site generator?
- A static site generator: https://gohugo.io
- A place to host the source files: https://github.com
- A place to host the generated website: https://pages.github.com
- A method to publish after I committed a new blog post: This but later https://github.com/features/actions
Main benefits:
- Still free
- I own my content 100%
- Better image handling (high-res with zoom)
- Better inline code handling and highlighting
- Learning new stuff
HUGO
Hugo is one of the most popular open-source static site generators. With its amazing speed and flexibility, Hugo makes building websites fun again.
![]()
Why Hugo and not Jekyll? Because there are blogs out there that I’m reading, and I liked the idea of being one of them :) Who?
- Andrew Connell: https://www.andrewconnell.com/blog/hosting-hugo-on-azure
- Maximilian Melcher: https://melcher.dev/2017/11/bye-bye-wordpress-hello-hugo
- Matthew McDermott: https://www.ableblue.com/blog/archive/2019/02/20/learning-hugo-on-azure-part-1
- Jason Hand: https://dev.to/jasonhand/10-tips-for-building-and-deploying-hugo-websites-on-azure-static-web-apps-307l
- Aaron Wislang: https://www.aaronmsft.com/posts/static-sites-hugo-azure-cloudflare
There is even content on Microsoft Docs on hosting Hugo on Azure Static Websites: https://docs.microsoft.com/en-us/azure/static-web-apps/publish-hugo
It was easy to start. Just follow the steps on the Getting started using choco installation for Windows users.
I’ve chosen the Fuji theme as a great staring point and integrated it as a git submodule. As mentioned in the docs I copied the settings into my config.toml and I was ready to go.
hugo new post/hugo/2020/10/my-blog-has-moved.md
hugo server -D
Open localhost:1313 in your browser of choice and check the result.
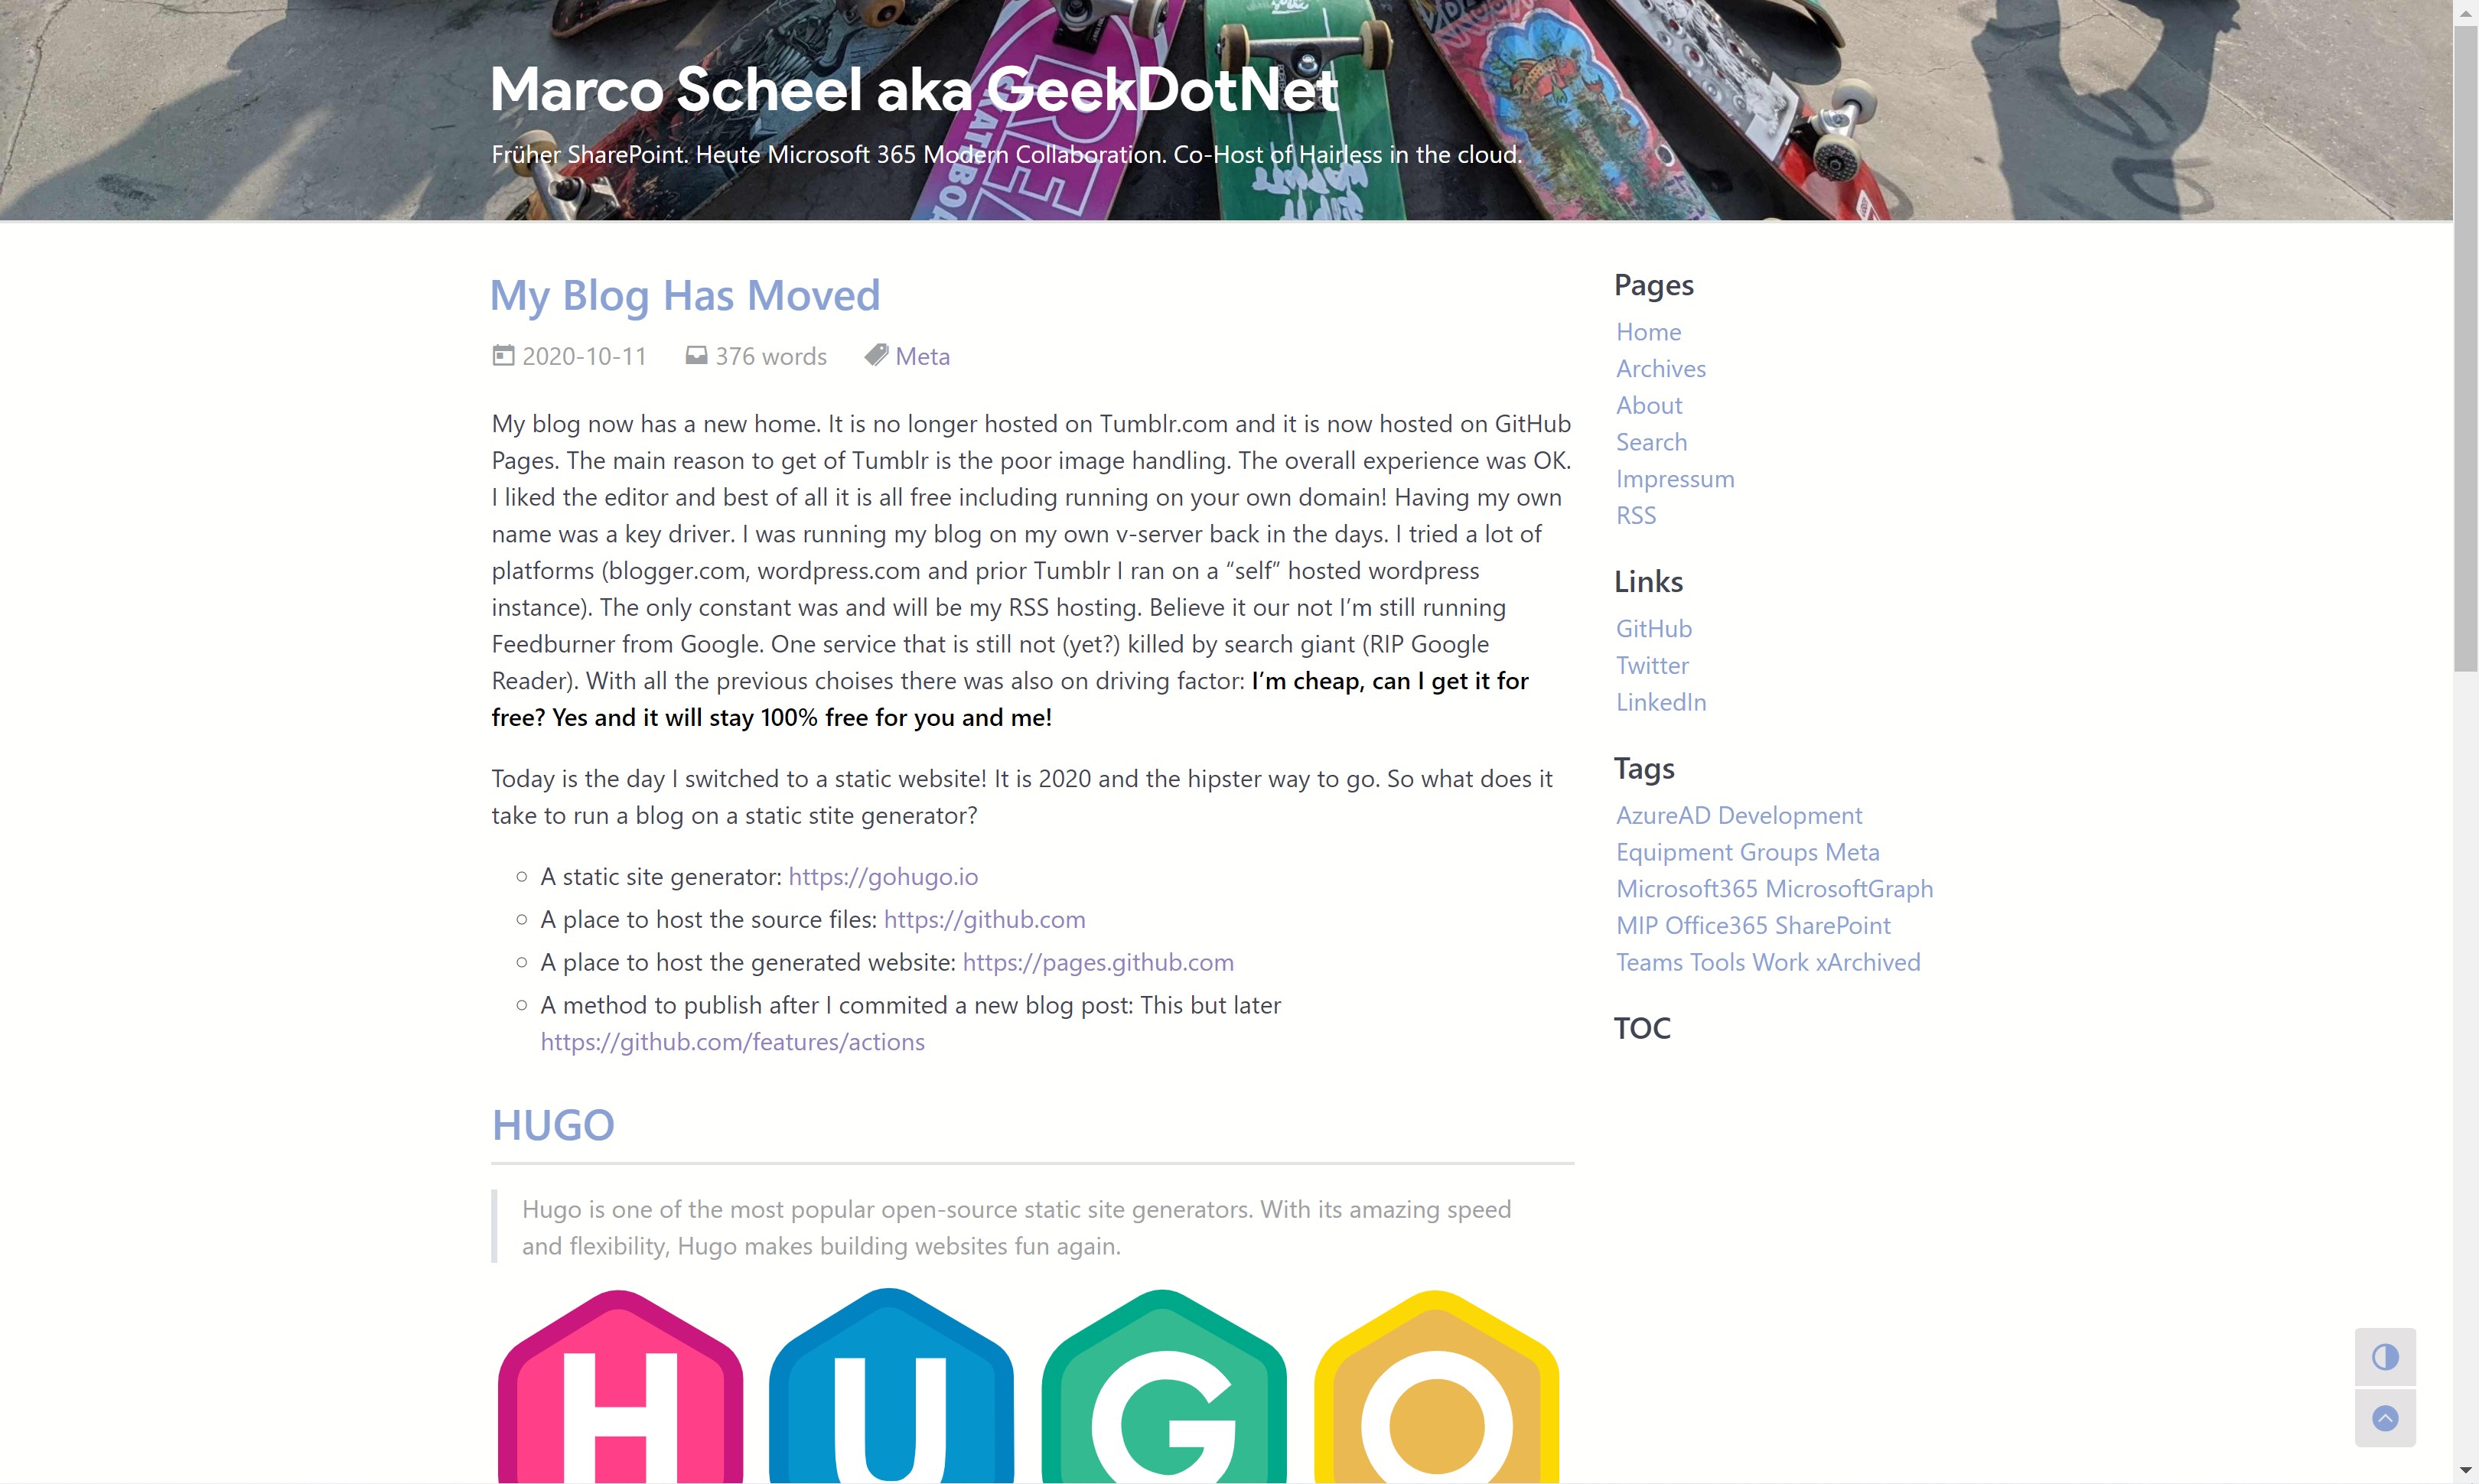
My tweaks
To get result in the picture above I needed some tweaks. Also, some other settings are notable if you are like me :)
The chosen theme is not very colorful and I really wanted a site image. I’m sure it is my missing knowledge about Hugo and theming but I ended up messing this the CSS to get a header image. I have put a classic CSS file in my “static/css” folder.
header {
    background-image: url(/bg-skate-2020.jpg);
    background-size: cover;
}

body header a {
    color: #ffffff;
    white-space: normal;
}

body header .title-sub{
    color: #ffffff;
    white-space: normal;
}

body .markdown-body strong{
    color: #000000;
}
To integrate this into your theme we use partials. To not mess with my theme (it is a submodule and controlled by the original author) I had to copy the “head.html” from my theme into “layouts/_partials” and I added the link to my CSS at the end of the file. While I’m in here I will also add the RSS tag to my FeedBurner account.
...
<link rel="stylesheet" href="https://cdn.jsdelivr.net/npm/disqusjs@1.3/dist/disqusjs.css" />
{{ end }}
{{ partial "analytic-gtag.html" . }}
{{ partial "analytic-cfga.html" . }}

<link rel="stylesheet" href="/css/custom.css">
<link rel="alternate" type="application/rss+xml" href="http://feeds.marcoscheel.de/marcoscheel">
I also modified the Google Analytics integration in the same way. I copied the “analytic-gtag.html” file to my partials folder and added the attribute “anonymize_ip” to anonymize the IP address.
...
        dataLayer.push(arguments);
    }
    gtag('js', new Date());
    gtag('config', '{{ . }}', {'anonymize_ip': true});
</script>
<script async src="https://www.googletagmanager.com/gtag/js?id={{ . }}"></script>
To get a favicon I followed the instructions on my theme site doc.
By default, the RSS feed generated will include only a summary (I HATE THAT) and return all items. I’ve found this post about solving my RSS “problem”. This time we had to grab the content from the Hugo website and copy the file into “layouts/_default/rss.xml”. Switch from “.Summary” to “.Content” and switched the description of the RSS feed to my site description. Also, I configured the XML feed to only return 25 items.
...
<description>{{.Site.Params.subTitle}}</description>
...
<pubDate>{{ .Date.Format "Mon, 02 Jan 2006 15:04:05 -0700" | safeHTML }}</pubDate>
{{ with .Site.Author.email }}<author>{{.}}{{ with $.Site.Author.name }} ({{.}}){{end}}</author>{{end}}
<guid>{{ .Permalink }}</guid>
<description>{{ .Content | html }}</description>
config.toml
rssLimit = 25
Content migration
I also need to take care about my old content living on Tumblr and if possible, on WordPress. It was kind of easy. I checked the migration article on the Hugo docs site.
Tumblr: https://gohugo.io/tools/migrations/#tumblr
All of the solutions require a Tumblr app registration, so I created on. To not mess with my fresh Windows install I enabled WSL2 and used the Ubuntu distro. This way I was able to clone the tumblr-importr repo and build my application. The important part was to place the GO binary into the right location. Otherwise the command was unknown. After that I was able to generate the needed files.
git clone https://github.com/carlmjohnson/tumblr-importr
cd tumblr-importr
go build
sudo cp tumblr-importr $GOPATH/bin
tumblr-importr -api-key 'MYAPIKEYHERE' -blog 'marcoscheel.de'
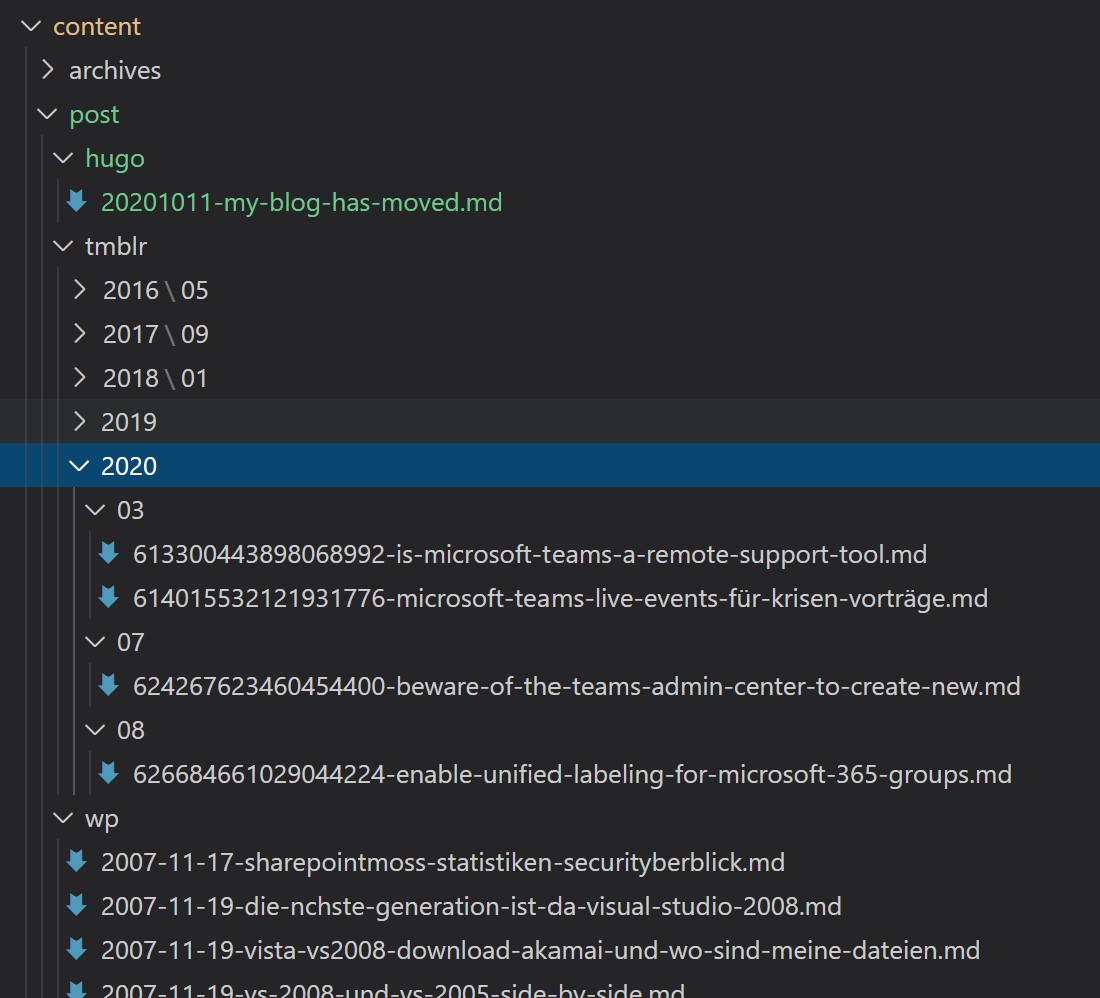
I copied the files into a subfolder named “tmblr” in my “content/post” folder. My main problem was that the content was not markdown. The files used HTML. I ended up opening all the blog posts on Tumblr in edit mode and switched to markdown mode and copied the source to the corresponding .md file. I only had 12 posts, so the work was doable and the result is clean. The main benefit of the conversion was that the front-matter attributes were pre-generated I did not have to recreate those (title, old URL as alias, tags, date, …)
date = 2019-08-02T19:41:30Z
title = "Manage Microsoft Teams membership with Azure AD Access Review"
slug = "manage-microsoft-teams-membership-with-azure-ad"
id = "186728523052"
aliases = [ "/post/186728523052/manage-microsoft-teams-membership-with-azure-ad" ]
tags = [ "Microsoft 365", "Azure AD", "Microsoft Teams"]
The Tumblr export generated an image mapping JSON. I used the JSON (converted to a CSV) to rewrite my images to the downloaded (still to small) version.
"OldURI":"NewURI"
"https://64.media.tumblr.com/023c5bd633c51521feede1808ee7fc20/eb22dd4fa3026290-d8/s540x810/36e4547d82122343bec6a09acf4075bb15eae1c1.png": "tmblr/6b/23/64d506172093d1d548651e196cf7.png"
$images = Import-Csv -Delimiter ":" -Path ".\image-rewrites.csv";

Get-ChildItem -Filter "*.md" -Recurse | ForEach-Object {
    $file = $_;
    $content = get-content -Path $file.FullName -Raw
    foreach ($image in $images) {
        $content = $content -replace $image.OldURI, $image.NewURI
    }
    Set-Content -Value $content -Path ($file.FullName)
}
WordPress: https://gohugo.io/tools/migrations/#wordpress
Once again, I used my handy WSL2 instance to not mess with not loved language. So a save route was to use the WordPress export feature and the repo exitwp-for-hugo. I cloned the repo and a few “sudo apt-get” later I was ready to run the python script. I placed my downloaded XML into the “wordpress-xml” folder. I ended up changing the exitwp.py file to ignore all tags and replace it with a single “xArchived”.
git clone https://github.com/wooni005/exitwp-for-hugo.git
cd exitwp-for-hugo
./exitwp.py
At the end, my “content/post” folder looks like to following.
Github
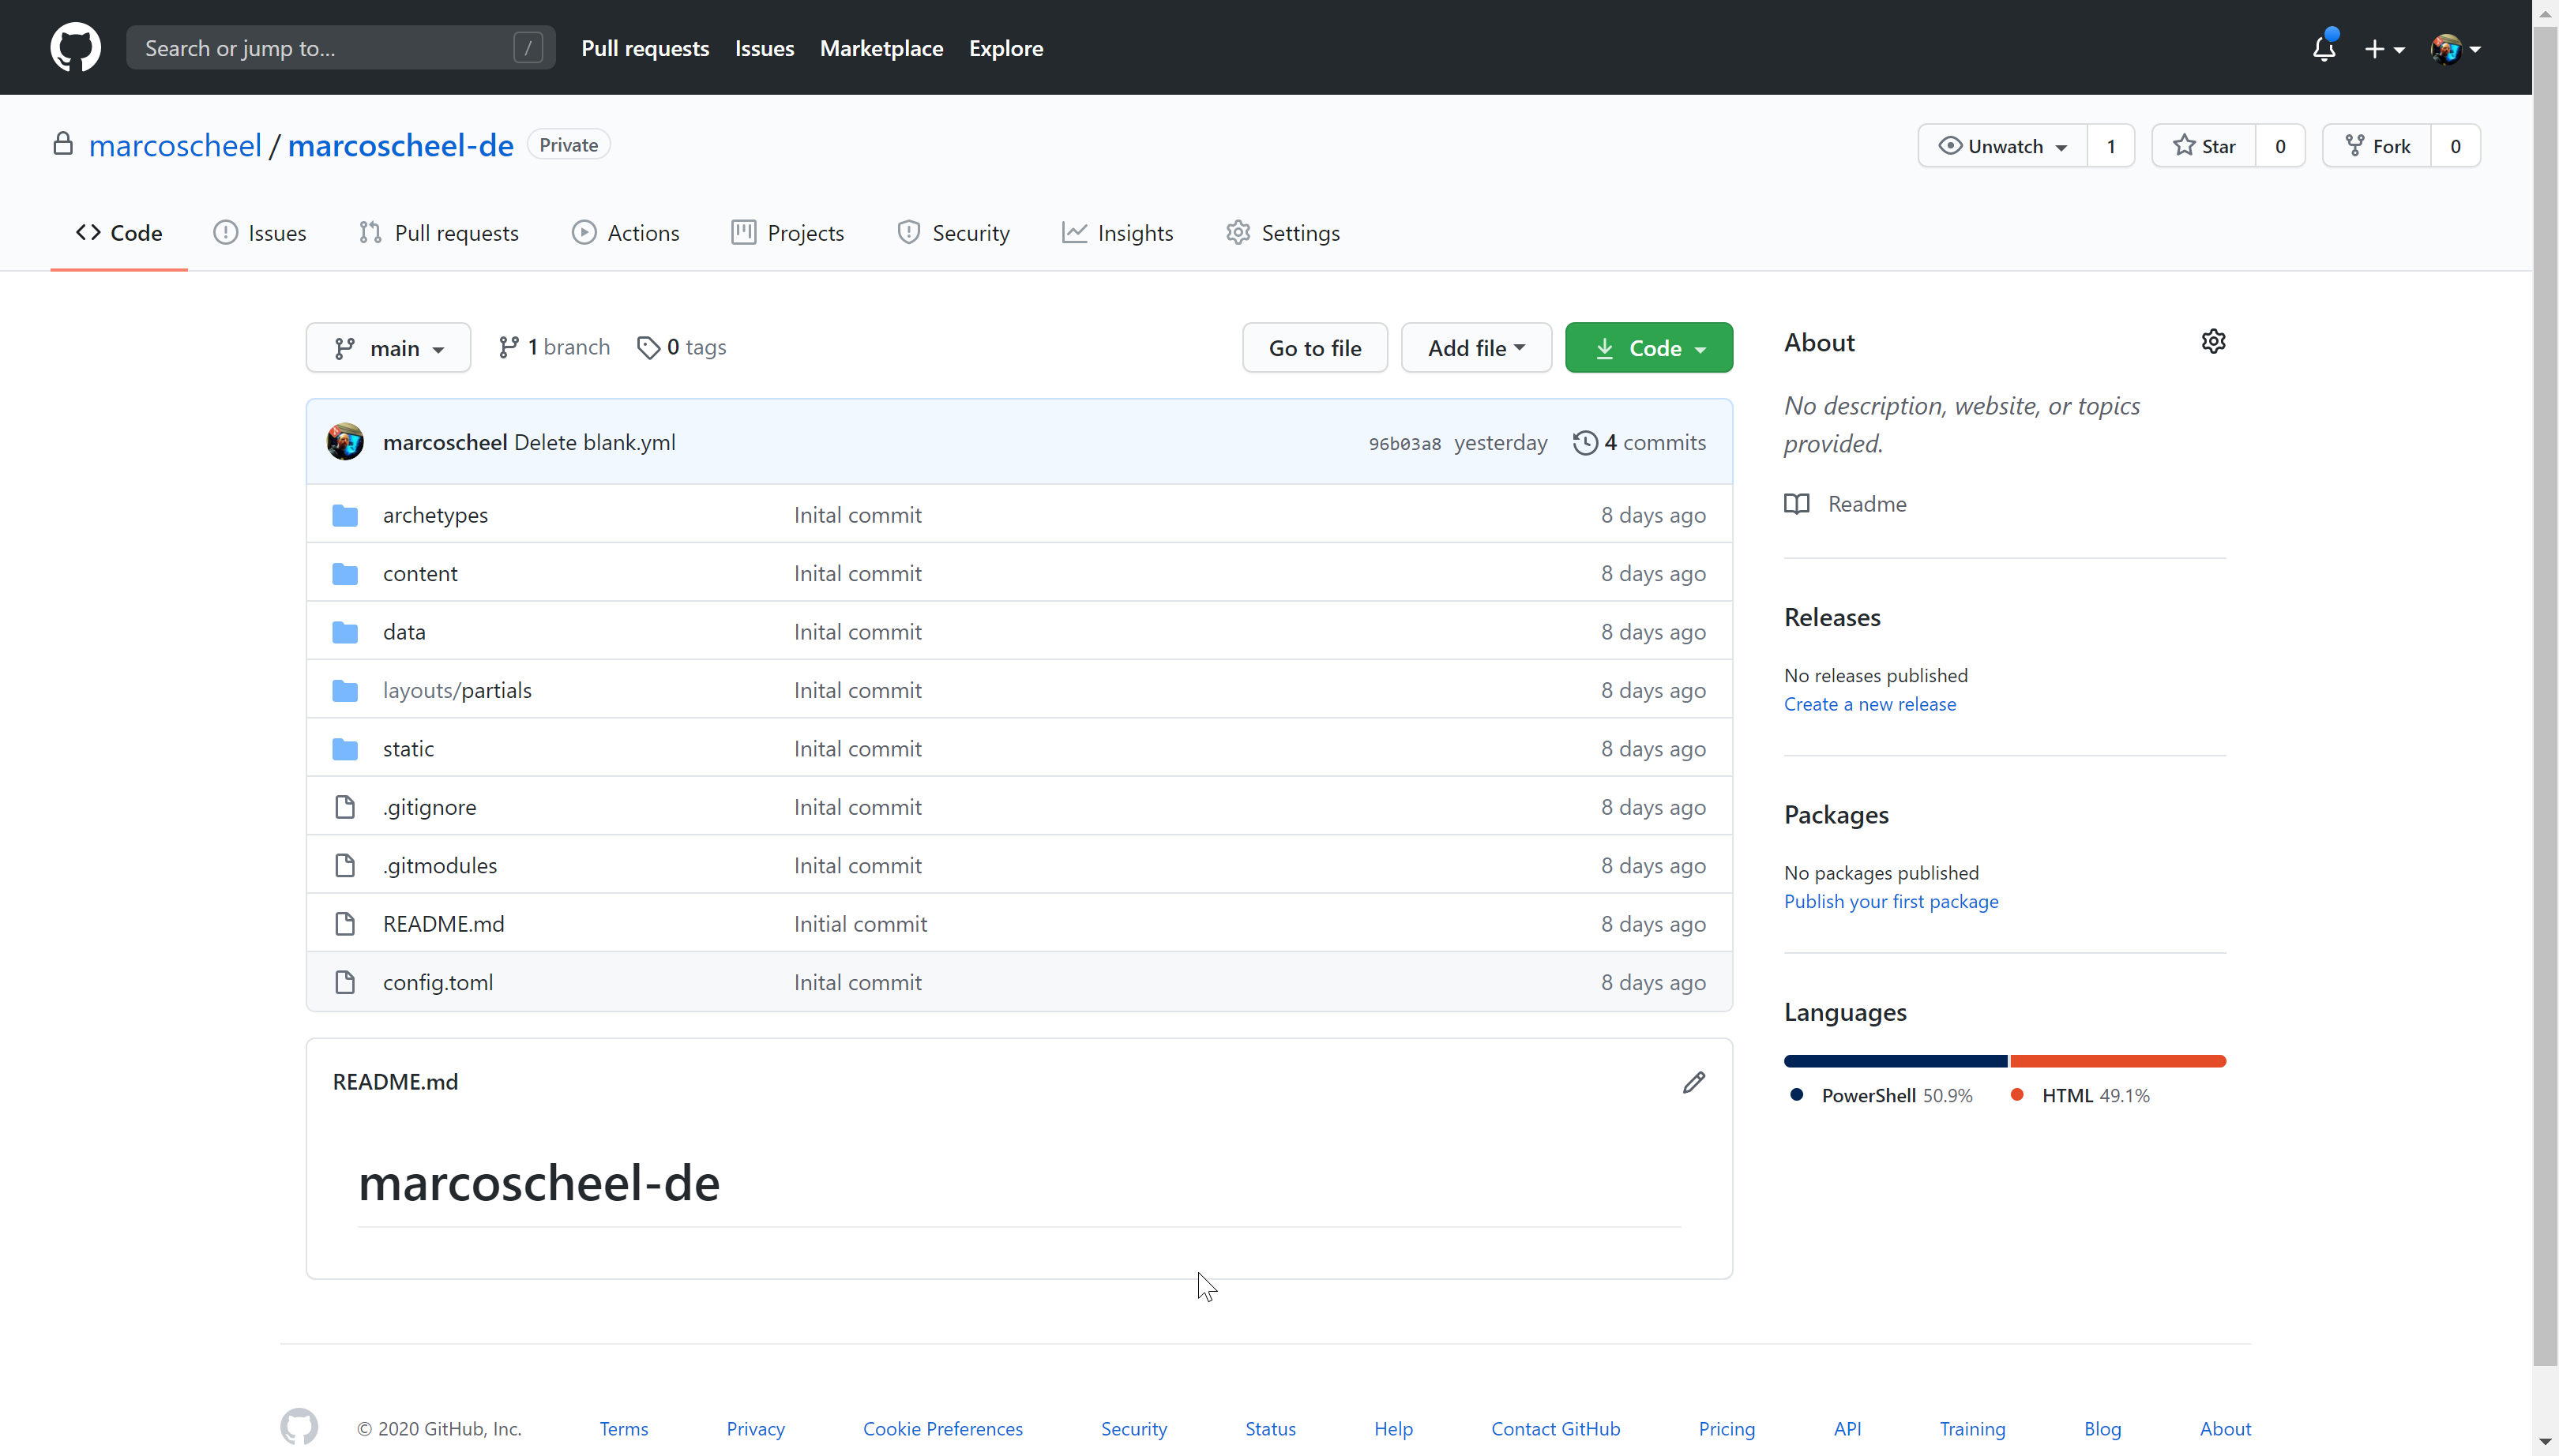
Now that the content is available on my local drive and I’m able to generate the static files. It is already a git repo so where to host the primary authority? So, the Hugo site with all config and logic will go to GitHub. There are only two choices for me. GitHub or Azure DevOps. Microsoft is owning both services. Private repos are free in both services. It looks like in the future Azure DevOps will not get all the love and that is why my website source code is hosted on GitHub: https://github.com/marcoscheel/marcoscheel-de
GitHub Pages
Next up is to generate the final HTML and put it out there on the internet. Generating the content is as easy as running this command.
Now we need to decide how to host the content. My first try was to setup a new Azure Pay-As-You-Go subscription with a 200$ starting budget for the first month and my personal credit card from here. Based on Andrew Connell blog I setup a storage account and enabled the static website. I could setup a custom domain for the blob store, but I created a Azure CDN (MS Standard) to optimize traffic and reduce potential cost. I also checked for Cloudflare CDN. All options allowed to have a custom domain and easy HTTPS with build in certificates. At the end it was my credit card and if something went really wrong (too much traffic due to non-paid internet fame?) I would be paying a life lesson with real money. I took the easy route instead. GitHub Pages to the rescue.
Websites for you and your projects. Hosted directly from your GitHub repository. Just edit, push, and your changes are live.
For every account GitHub is offering one GitHub Pages repository. I created the repository at: https://github.com/marcoscheel/marcoscheel.github.io
Normally the content will be server on the github.io domain, but through the settings we can add a CNAME to the site. To achieve this we need to put a file called “CNAME” into the root directory. For my Hugo site and the publish process I placed the file into the “static” folder so every time the site is generated the file will be copied to the root of the site. Once the CNAME is in place we configure the HTTPS redirect.
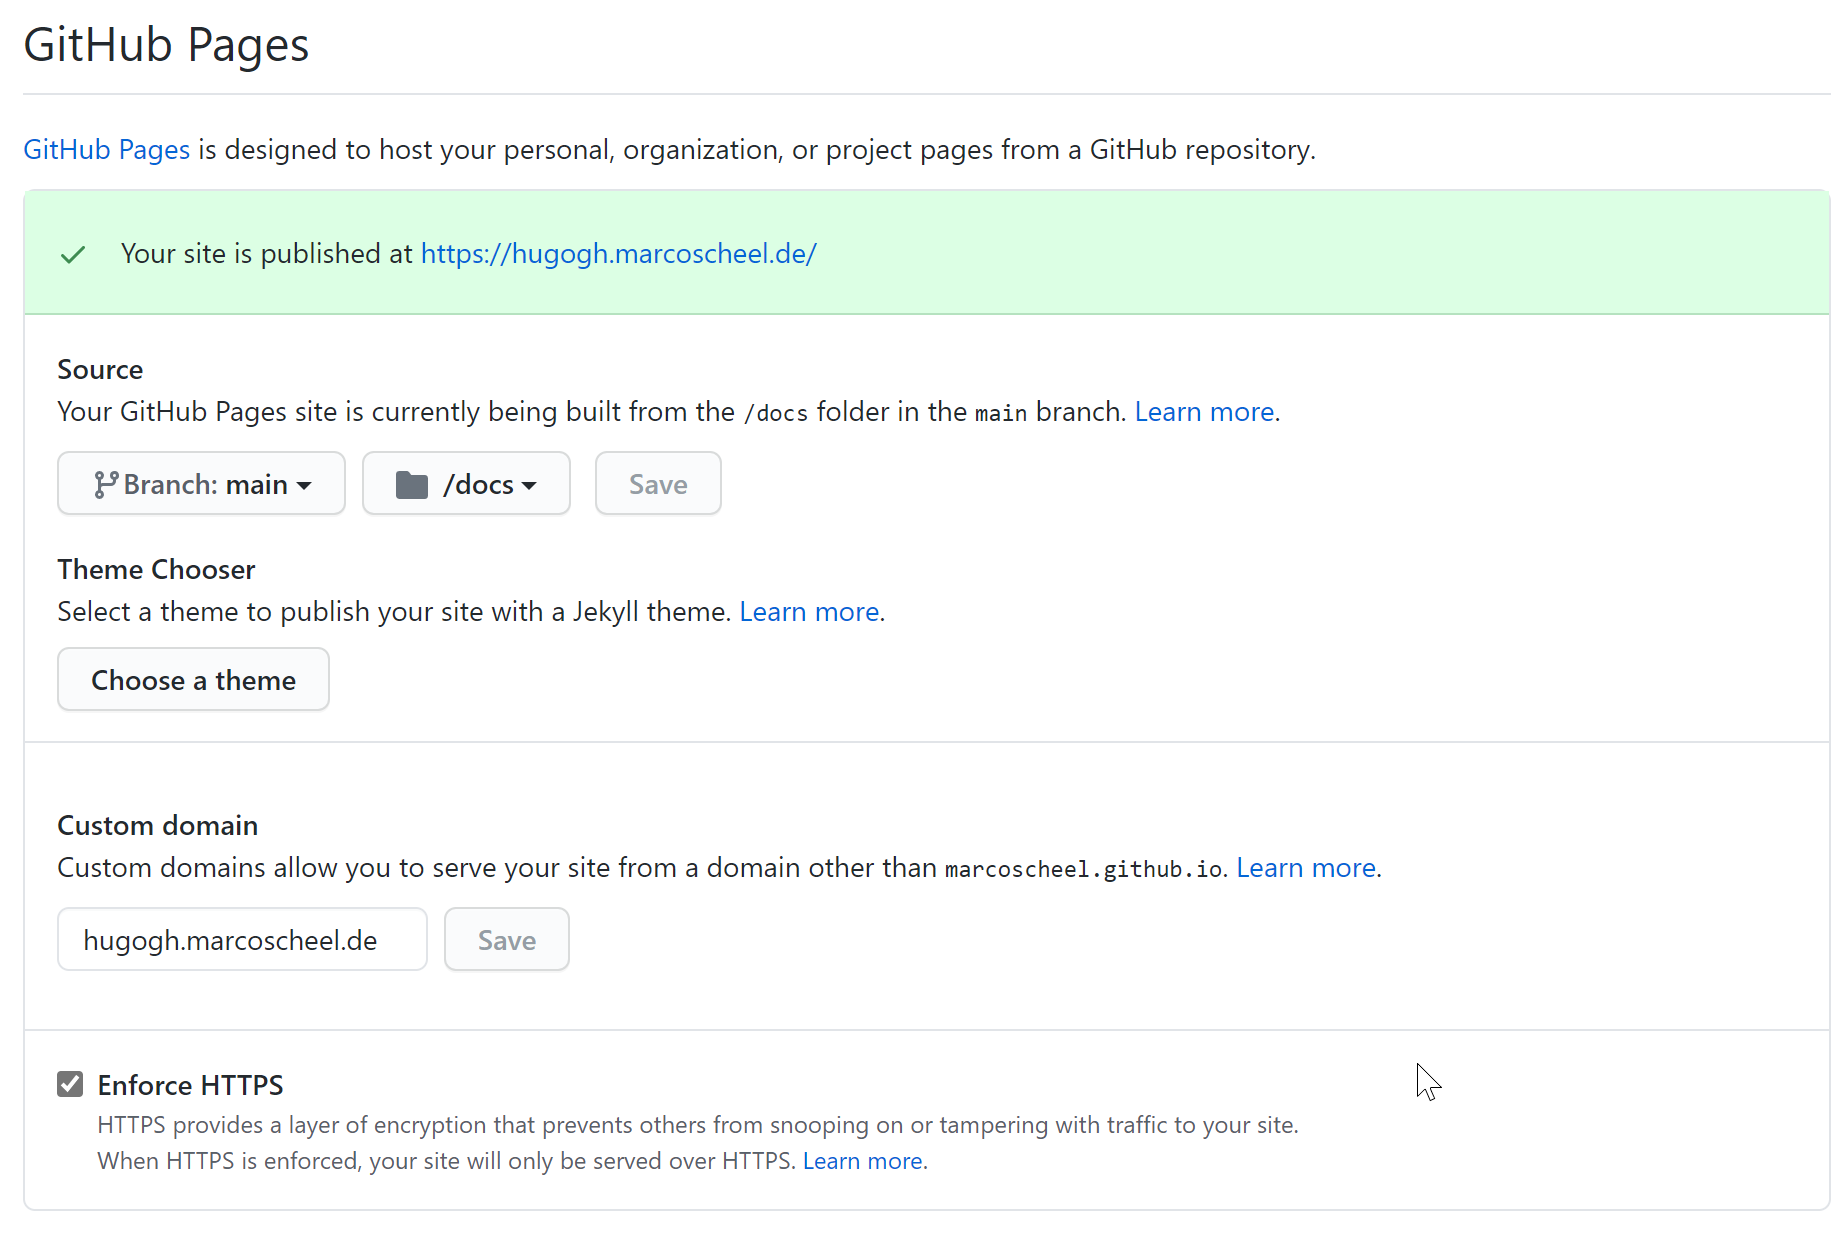
Custom domain. HTTPS. No credit card. Everything is good.
Publishing
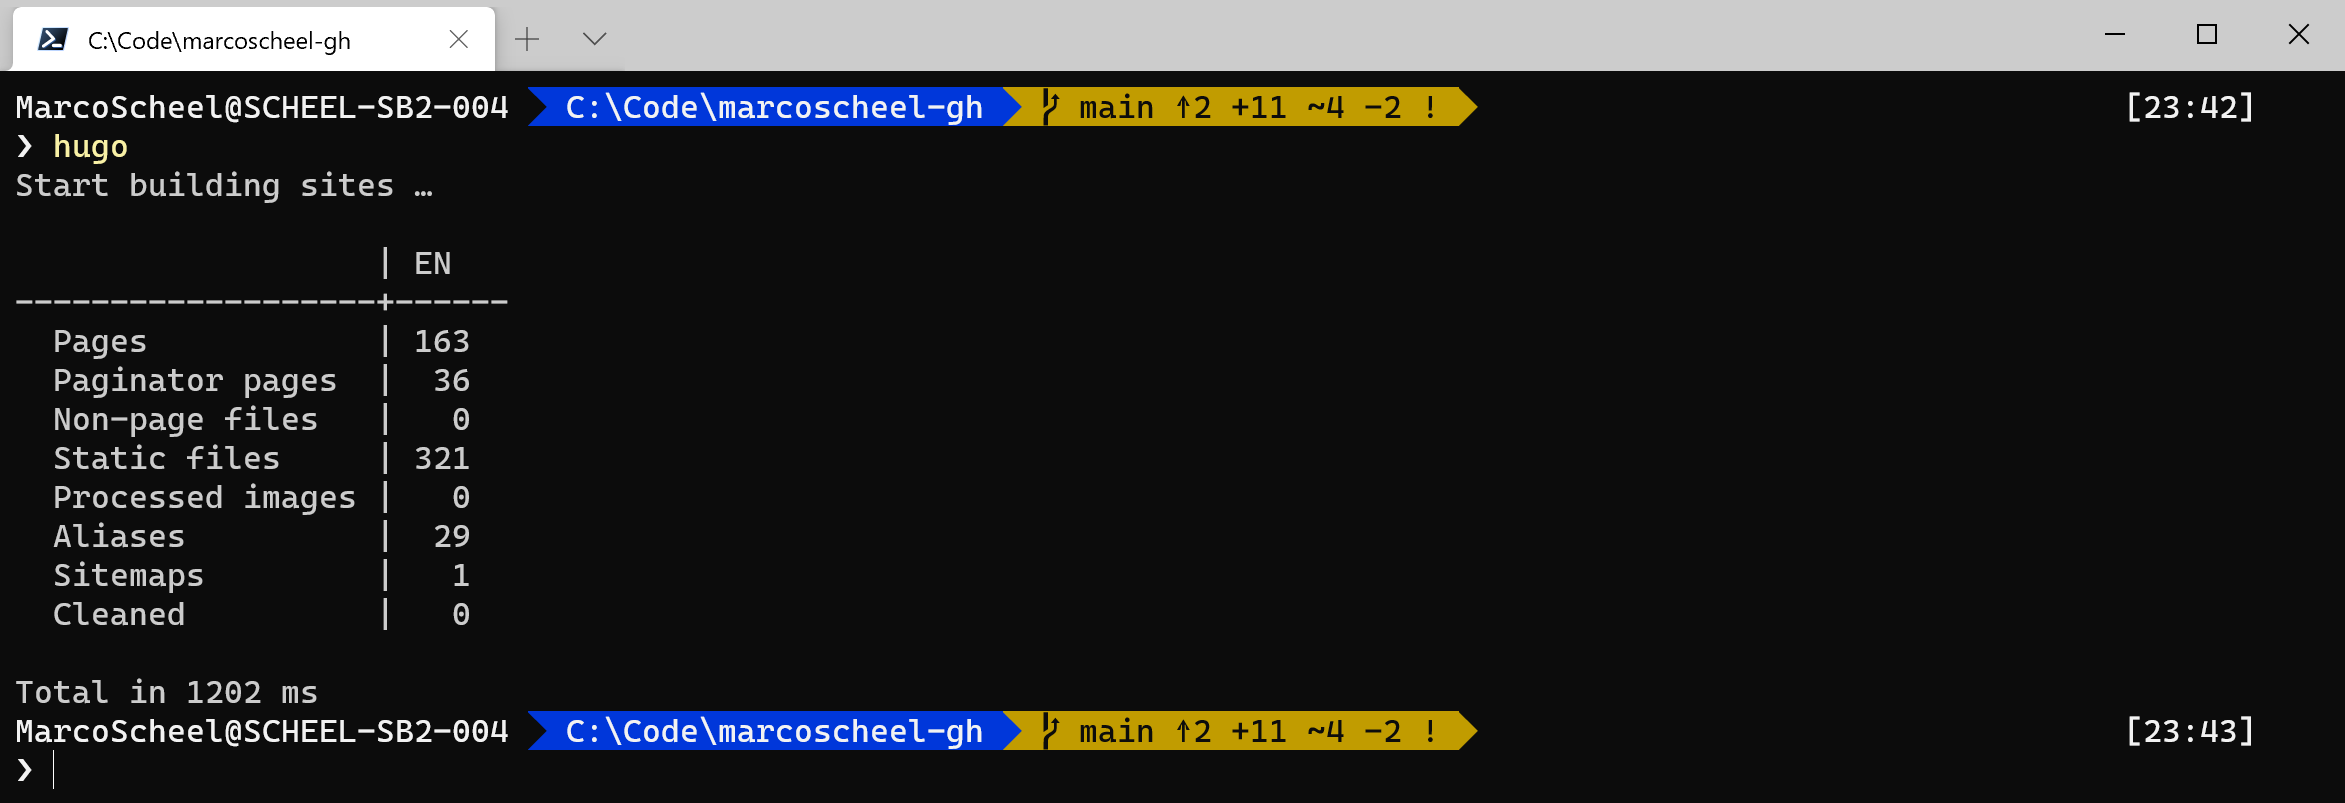
In the future I’m looking forward to enable GitHub Actions to publish my site. For the moment I rely on my local environment pushing content from my Hugo site to the GitHub Pages repository. I integrated the GitHub Pages repo as a submodule and with the publish process I put the files into “public/docs”.
publishDir = "public/docs"
A quick “hugo” on the Windows Terminal and a fresh version is ready to be pushed into the right repo.
hugo
cd public
git add -A && git commit -m "Ready for go live"
git push